LiftMaster Frequently Asked Questions - Programming Openers & More
Got a LiftMaster remote that will not pair, a keypad that is acting up, or a garage door opener that needs a reset? Do not worry, we have clear answers for all of it. Whether you are installing for the first time or just trying to reprogram something that has worked for years, this guide walks you through the steps with no tech jargon or guesswork.
We have helped thousands of customers get their openers working right, and we are here to make it easy for you too. Scroll through the questions below or jump to the section that fits your issue. We have also included links to manuals and official support in case you need a little extra help.
Remotes & Pairing
How do I pair a LiftMaster remote?
To pair your remote, locate the Learn button on your LiftMaster opener. It is usually on the motor head and may be yellow, orange, red, or purple. Press and release the Learn button. The indicator light will turn on or begin blinking. Within 30 seconds, press and hold the button on your remote until the opener's light flashes or you hear a click. Your remote is now programmed.
How do I program a LiftMaster or Chamberlain remote to my garage door opener?
LiftMaster and Chamberlain remotes use compatible Security+ technology. Find the Learn button on your opener, press and release it, then press and hold the button on your remote. When the garage door opener light flashes or clicks, the remote is successfully programmed. This process works the same for both brands.
How do I set up or reprogram a LiftMaster remote control?
To reprogram or reset your LiftMaster remote, start by erasing the old memory. Hold the Learn button on the opener for about 6 seconds until the LED turns off. Then press and release the Learn button again. Within 30 seconds, press and hold the remote button until the light blinks or you hear a click. This confirms the new code is stored.
Keypads
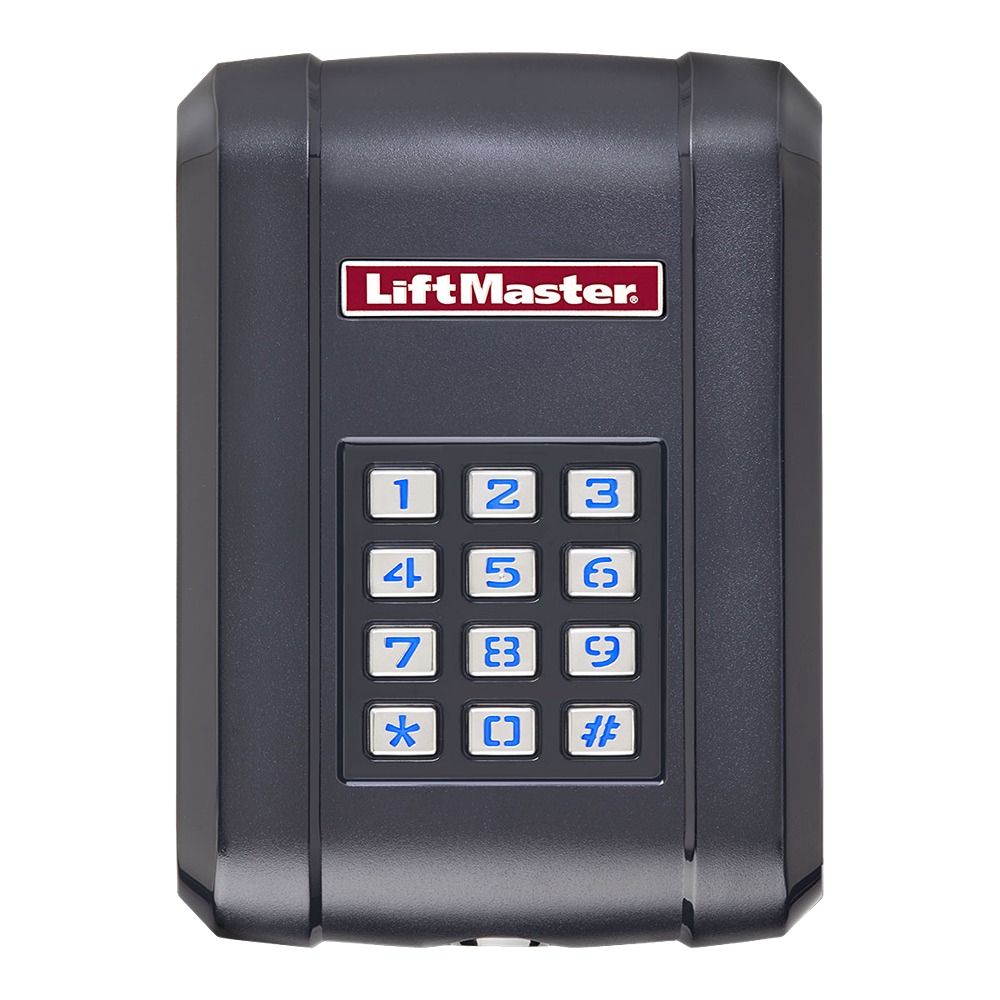
How do I program the keypad for a LiftMaster garage door opener?
To program your keypad, press and release the Learn button on the opener twice. The LED will flash to confirm it's ready. Within 30 seconds, enter your chosen 4-digit PIN on the keypad, then press and hold the ENTER button. When the garage light blinks or you hear a click, the keypad is successfully programmed.
How do I reset or change the PIN or code on my LiftMaster keypad?
To change your LiftMaster keypad PIN, press and release the Learn button on your opener twice. Then enter your new 4-digit PIN on the keypad and press and hold ENTER until the opener light flashes. This replaces the old code with your new one. For a full reset, hold the Learn button for about 6 seconds until the LED turns off, which clears all keypad codes.
How do I reset my LiftMaster garage door opener password?
LiftMaster systems do not use passwords. Instead, they use a 4-digit PIN for keypad access. To reset it, press and hold the Learn button until the LED turns off, which clears all remote and keypad memory. Then reprogram the keypad by entering a new PIN and holding ENTER until the opener confirms with a light flash or click.
Learn Button Compatibility
Figure out which learn button color your garage door opener is compatible with by looking under the cover for a colored circle on the same side as the antenna.
| Remote Model | Yellow Learn | Purple Learn | Green Learn | Orange/Red Learn | Battery Type |
|---|---|---|---|---|---|
| 380UT - 2-Button Universal Remote | ✓ | ✓ | ✓ | ✓ | CR2032 |
| 374UT - Mini Universal Remote | ✓ | ✓ | ✓ | ✓ | CR2032 |
| 893MAX - 3-Button Visor Remote | ✓ | ✓ | ✓ | ✓ | CR2032 |
| 891LM - 1-Button Remote | ✓ | CR2032 | |||
| 373LM - 3-Button Remote | ✓ | CR2032 | |||
| 371LM - 1-Button Remote | ✓ | CR2032 | |||
| 387LM - Universal Wireless Keyless Entry | ✓ | ✓ | ✓ | ✓ | 9V |
| 878MAX - Wireless Keyless Entry | ✓ | ✓ | ✓ | ✓ | 9V |
| 877LM - Wireless Keyless Entry | ✓ | 9V |
*Error Codes, programming instructions, and more can be located within product manuals. You can find specific product manuals, specification sheets, and more on our product pages.
Programming & Setup
How do I program a LiftMaster gate opener?
Locate the Learn button on the control board of your gate operator, often labeled CH1 or CH2. Press and release the Learn button, then press and hold the button on your remote. When the gate beeps, clicks, or its light blinks, the remote has been successfully paired.
How do I reprogram my LiftMaster garage door opener?
Clear existing codes by holding the Learn button until the LED turns off. Then press and release the Learn button again. Within 30 seconds, press and hold the remote button until the opener light flashes or clicks. The new code is now stored.
How do I connect or link my LiftMaster garage door opener?
Press and release the Learn button. Within 30 seconds, press and hold your remote button or enter your keypad PIN and press ENTER. For smart devices, use the myQ app to finish setup via Wi-Fi.
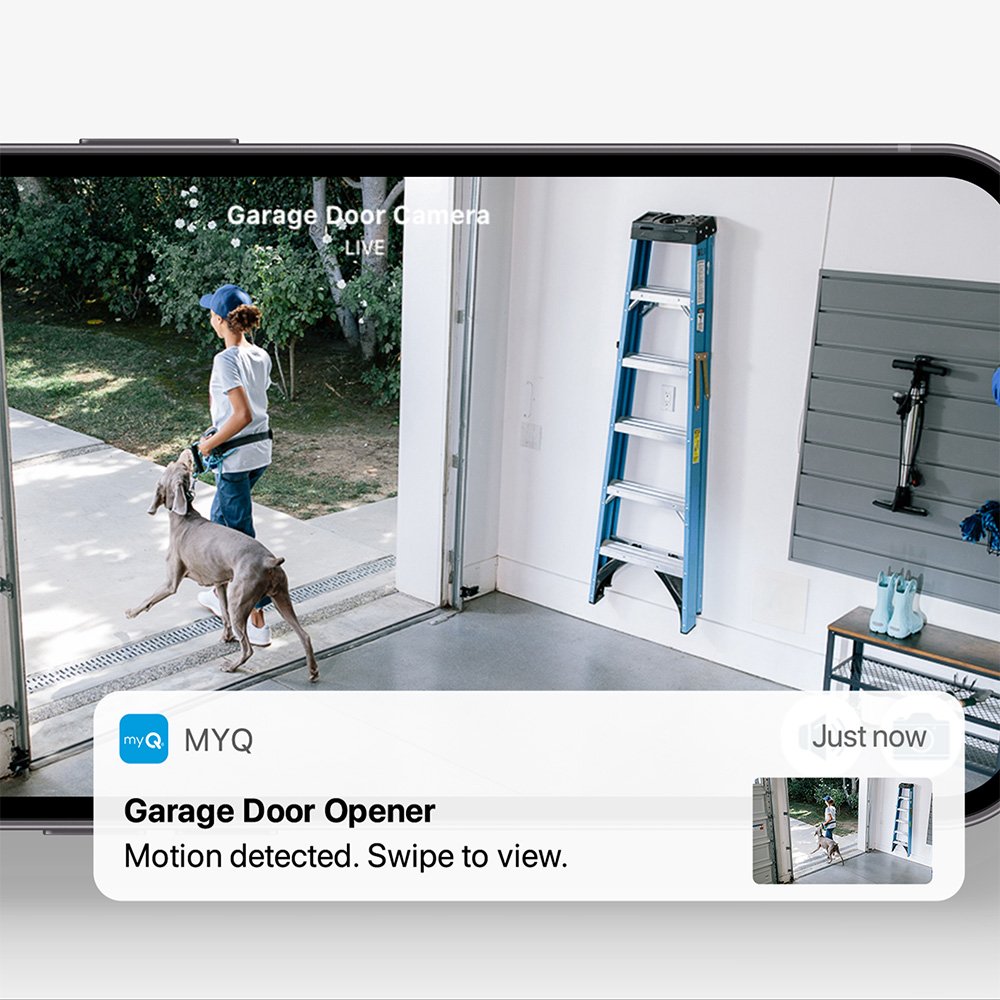
How do I set up the myQ app with my LiftMaster opener?
Download the myQ app from the App Store or Google Play. Create an account and follow prompts to add your opener. Ensure the opener is Wi-Fi enabled and close to a strong signal. The app will guide you through the pairing process.
More About MyQHow do I learn or sync a LiftMaster garage door opener?
Press and release the Learn button, then press and hold the remote button or enter a keypad PIN and press ENTER. The light will flash or you will hear a click. For myQ syncing, use the app to complete setup.
How do I program my LiftMaster opener to my car?
Hold the two outer HomeLink buttons in your car until the light blinks. Then press and hold your HomeLink button and LiftMaster remote together. When the light changes, press and release the Learn button on your opener. Press the programmed HomeLink button in the car a few times until the door responds.
How do I program LiftMaster to my car without a remote?
- Hold the first and third HomeLink buttons in your car until the indicator light blinks to clear settings.
- Press and hold the Learn button on the opener until it starts blinking.
- Within 30 seconds, press the HomeLink button in your car three times.
- If successful, the door will operate or the opener light will flash.
*Error Codes, programming instructions, and more can be located within product manuals. You can find specific product manuals, specification sheets, and more on our product pages.
Resetting & Diagnostics
How do I reset my LiftMaster garage door opener or motor?
Hold the Learn button on the motor unit for 6 seconds until the LED turns off. This clears all paired devices. Reprogram your remotes and keypad as needed.
How do I clear LiftMaster error code 4-2?
Error 4-2 means the door did not reach the fully open position. Check for obstructions, door balance, rollers, hinges, alignment, and the up-limit setting. Also inspect bearing plates, wiring, and drive gear.
How do I test a LiftMaster logic board?
Use a voltmeter to test for 30V DC at the connector where the logic board meets the power board (purple, yellow, gray, black wires). If no voltage, check harness connections. If voltage is present but there’s no response, test the relay coils or consider replacing the board.
*Error Codes, programming instructions, and more can be located within product manuals. You can find specific product manuals, specification sheets, and more on our product pages.
Adjustments & Fine-Tuning
How do I adjust a LiftMaster garage door opener?
- Disconnect the opener from power.
- Remove the plastic cover over the adjustment dials.
- Use a flat-head screwdriver to adjust force settings. Clockwise to increase, counterclockwise to decrease.
- Turn the travel limit screws to adjust how far the door opens or closes.
- Reconnect power.
- Test the reversal system and sensors for proper function.
- Make further adjustments as needed.
- Replace the cover when done.
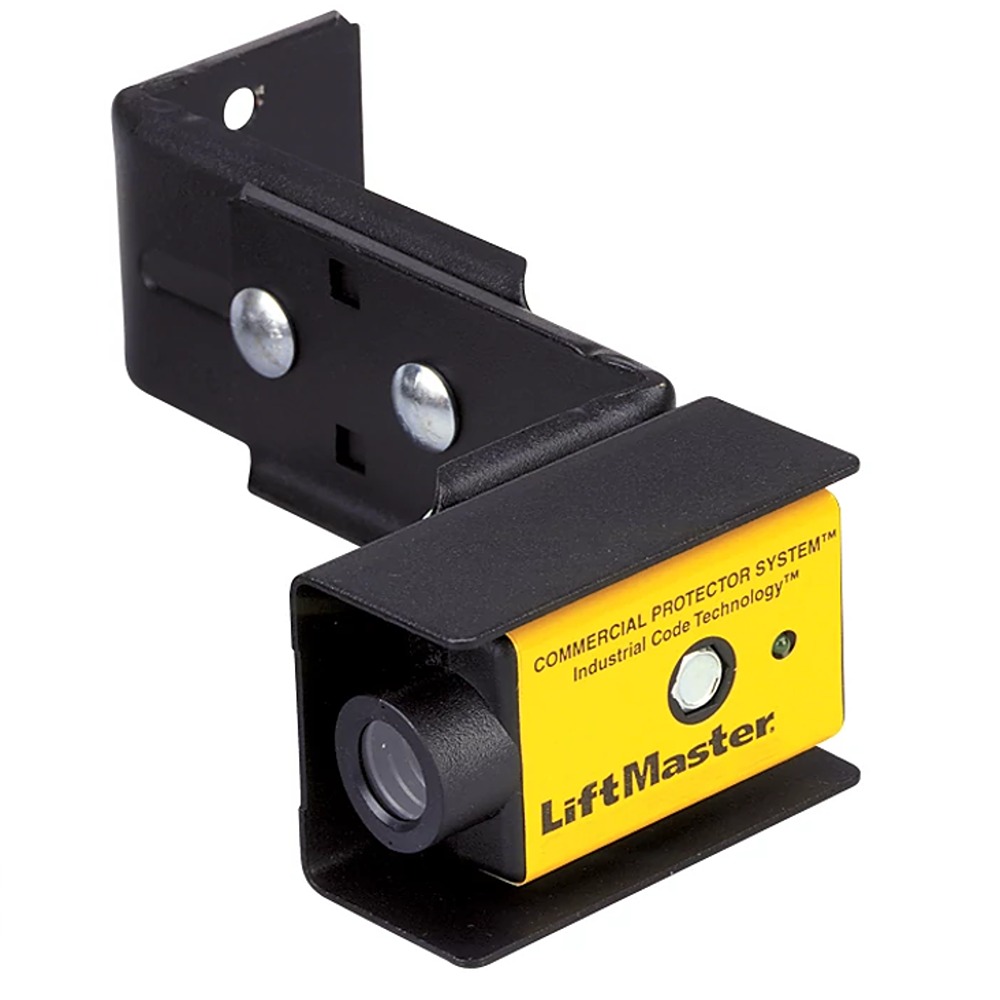
How do I align LiftMaster garage door sensors?
- Disconnect power to the opener.
- Clean both sensor lenses and wires.
- Loosen the sensor bracket screws.
- Use a level or string to align both sensors directly.
- Tighten the brackets in place.
- Restore power and test the system. The door should reverse if the beam is blocked.
*Error Codes, programming instructions, and more can be located within product manuals. You can find specific product manuals, specification sheets, and more on our product pages.
Manual Access & Security
How do I manually open a LiftMaster garage door from outside?
Pull the emergency release cord straight down to disengage the opener. Then manually lift the door using the handle or bottom edge. This is useful during power outages or system faults.
How do I lock a LiftMaster garage door?
To lock electronically, press and hold the lock button on the wall control for 2 seconds until the LED blinks. This disables remote signals. For manual locking, disconnect the opener, pull the emergency release, lower the door, and clamp the top rollers in place.
*Error Codes, programming instructions, and more can be located within product manuals. You can find specific product manuals, specification sheets, and more on our product pages.
Hardware Questions
What watt light bulb should I use for my LiftMaster opener?
Use an A19 bulb. Maximum is 100 watts for incandescent or 10 watts for LED. Always verify wattage in your opener’s manual to prevent damage or interference.
How do I change the battery in a LiftMaster garage door opener?
- Unplug the opener from power.
- Open the light cover to reach the battery compartment.
- Remove the compartment cover and disconnect the red and black wires from the battery.
- Connect the new battery with the correct wire polarity.
- Close the covers and plug the opener back in.
- Test the system to confirm battery backup is working.
*Error Codes, programming instructions, and more can be located within product manuals. You can find specific product manuals, specification sheets, and more on our product pages.
Explore products to find manuals, specification sheets, installation guides, and more:
Need Additional Assistance?
No problem! Please do not hesitate to reach out with additional questions? We are happy to help in any way we can. You may also visit our Resources Hub to see if your question can be more directly answered in an other article.
Resources Hub Contact Us